
I must have a congenit flaw that stops me from getting properly organized beforehand, so that when I finally commit to a DIY project I always remember halfway to snap some pictures of the different steps to have a tutorial afterwards.
This is to apologise for the lousy pictures, I started at sunset and finished after dinner, the lighting is what it is, but I hope it’s enough to understand.
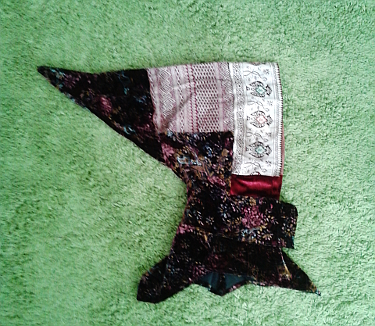
I’m very happy with the result, I now have a hood that I can wear with any coat, it’s big, floppy, pointy, patchwork and vaguely medieval, what could I ask more of it?
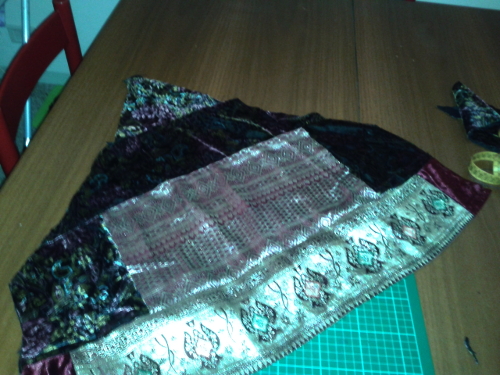
It all started with two small pieces of sari borders my friend gave me… what to do with them? What could I use them for? Not much after all, but they were so pretty it would be a pity to waste them.
What you’ll need:
– fabric scraps (or one big cut of fabric, if you do not want it patchwork)
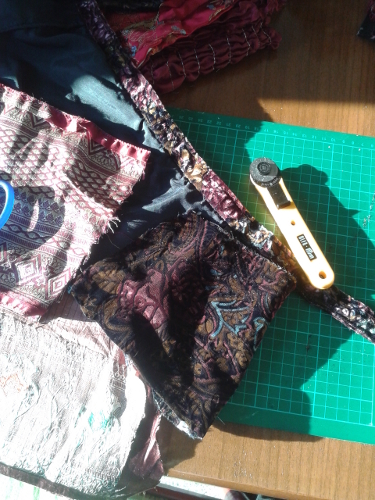
– fabric scissors (or cutting board and rotary cuttery, I luuuurve these two)
– needle and thread (sewing machine to speed this up, I highly recommend!)
– taylor’s chalk
– taylor’s measuring tape
– newspaper paper and pencil
– pins
– hooks and/or buttons
– optional: a hoodie with a pointy hood to take some measurements from, or any kind of hoodie to do the same and you can freehand the point
– time and patience
This is the basic idea: a hood that is attached only to a collar to stay put undeneath a coat; so, hood, strip of fabric around the neck, and some sort of “collar” to lay on your shoulders and that tucks under other clothes.
I started laying the pointy hoodie flat on the table, to have an overall idea of the measurements and amount of fabric.
Then I folded in half the two sari pieces, placing them in a row: I wanted these to be the front part of my hood.
Pin on the fold…

… and match the pins so you match the middle.
After that, this is a step that is non essential to you, I went through the seven hells to undo a velvet skirt while complimenting endlessly the seamstress who sew it first, it was almost unbreakable!
As usual righstides are facing together, so that you can sew on wrongsides and your seam will be almost invisible.
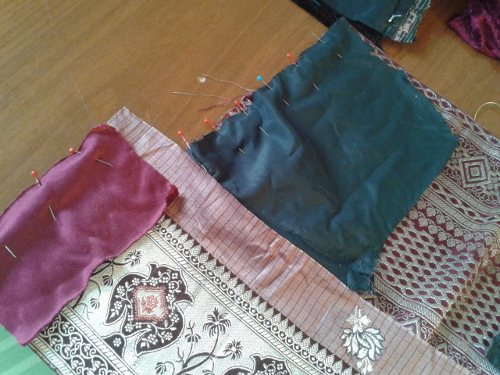
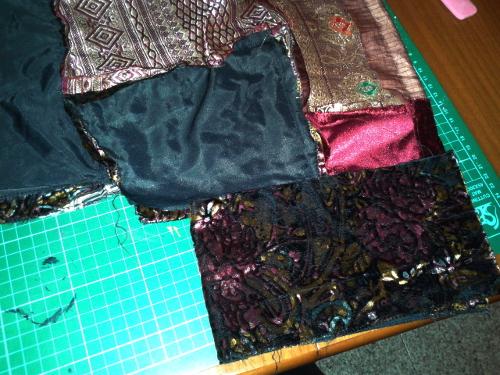
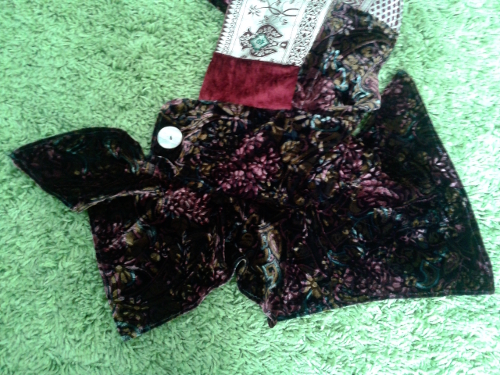
With those velvet pieces, measuring carefully, I added the pieces I needed for my patchwork to complete the hood.
With immense patience I pinned my “add-ons” to my fabric strips and sewn, then I pinned all the strips and sewn them together.

Put your pins across your future seam, so you can sew over them with your sewing machine without having to baste everything.
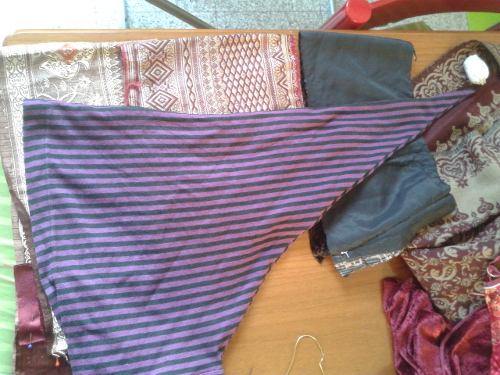
When I got to a good dimension of a patchwork, one that allowed me to keep my head warm without having the hood to pull on my forhead nor on the nape of my neck (like the striped one I used as model does a little bit… Granada, you’re an amazing city and this hoodie is a great souvenir, but it’s just a tad small, that’s it!) I folded everything in half, confronted my hood-to-be with the striped one and drew a diagonal line, with the taylor’s chalk, to start having a pointy shape.
Opened hood, still unsewn.
I pinned and sewn what I cut off to make the actual point.
After that I sew closed the hood.
And hemmed the front.
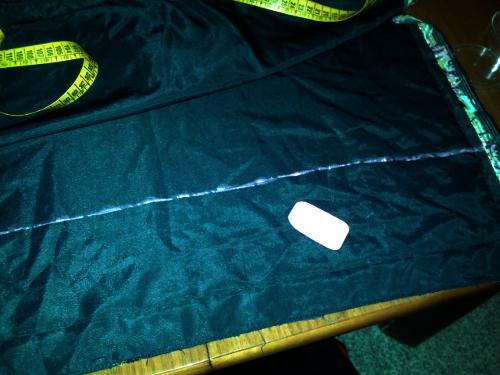
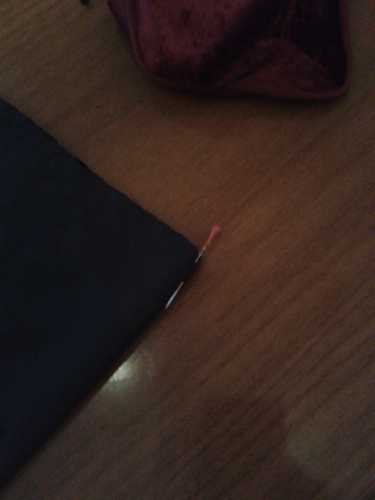
Next step: a ring of fabric to rest around my neck.
I measured my neck, keeping the tape loose, I decided on how many CM I wanted to overlap for the closing (5 were good), I added one more CM per side as seam allowance and then, adjusting it properly I attached the hood I had just made.
Here comes the annoying bit, the collar.
I was trying to decide the perfect placing
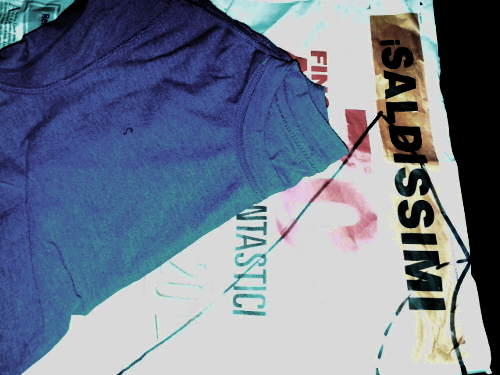
Since I had no idea whatsoever on how to make a collar, I went the easy way: copy.
I took a shirt I have, with a round collar that is not too snug, folded it in half (I had the sleeve in the middle, facing me) so that I could have a clear view of the neckline, front to back.
I traced that line on paper, marking where the shoulder seam was, then I freehanded the collar I wanted.
BATMAAAAAN! Tananananananananananana
You can go wild here, with points, circular collars, half capes, or nothing of this…
I cut my paper pattern then cut two specular pieces in fabric.
I’ve pinned and sewn the two halves so that I had a “free flap” to be able to wear my hood and close it.
I was using non-stretchy fabric, so I couldn’t wear it from my head, I had to have an opening!
Detail of collar and button
This bit required a good amount of imagination and trials.
When I found the way I liked more, so that the front could be covered as well, I pinned everything down and sewn.
I hemmed anything that needed hemming.
I made the buttonhole with my sewing machine and hand sewn the button.
Then I also added a hook on the shoulder to keep the collar in place once I had the hood on.
I trimmed all loose threads and I flaunted my hood around going from my husband to the mirror for, like, fifteen good minutes.
Now I’ve made one and I’ve already been in a fight with my mind that sometimes doesn’t want to imagine things properly, I can say that making another one won’t be so messy (it’s not hard, it just have a lot of steps).

Pardon my flu-sweater!
The very cool thing, now, is that any coat I might have can also have a hoodie, muhuhahahahah!!!