
Let’s imagine you have a pair of pants you lurve, a jacket you can’t live without, a skirt you can’t find anymore in stores but you’d like to have also in a different colour.
How can you have another one?
By copying the pattern and hand sewing a new one (or with the help of any kind of easy to use sewing machines for beginners)! And how do you copy a pattern from a ready made garment without tearing it to pieces?
Things needed:
pattern paper or newspaper
water based feltip pen
pins
measuring tape
ruler
taylor’s chalk
scissors (for paper and for fabric)
adhesive tape (optional)
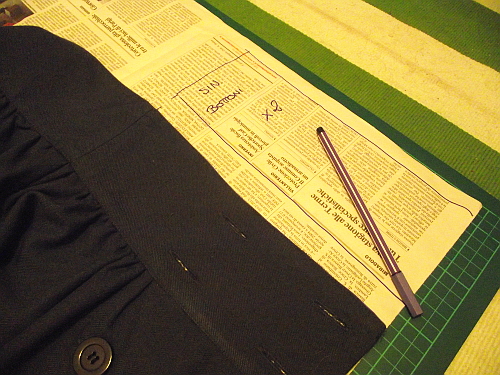
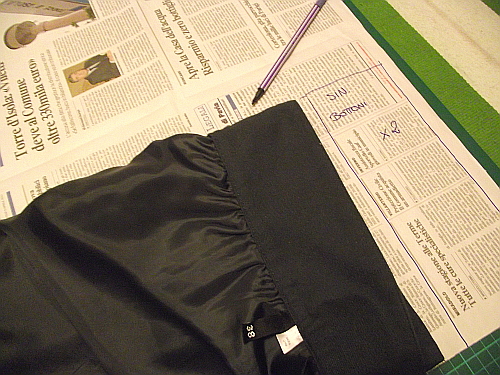
Lay down your paper and look for the main seams of the garment you want to copy. In my case it’s a high waist skirt with double row of buttons, it opens up completely witch is lucky to me, but the how to is always the same.
Go all the way OCD and mark anything on the pattern: what part you’re marking down, how many you’ll need to cut, if it needs lining, if you’re including seam allowance or not, in what direction the fabric runs, etc etc.
Repeat for all the parts of the garment and, as the rule says, “measure twice, cut once”: confront the measurements you’ve reported on paper with the actual measurements of the garment.
IE: my skirt has a waistband made of three pieces, the back piece is Ncm and the two on the front are Ncm and overlap of 9cm. My papers matched!
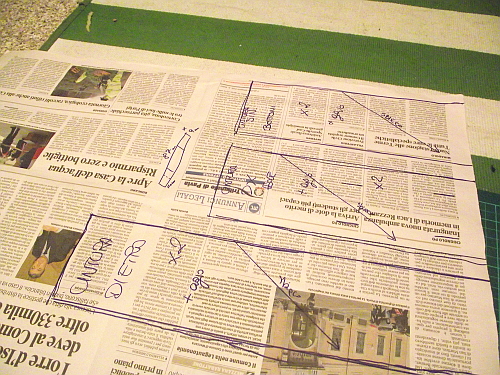
Straighten your lines, it will be helpful when cutting.
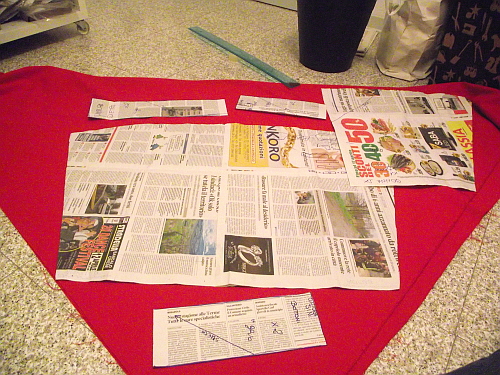
Now cut up your pattern, place it well and wisely on the fabric, cut it out (and mark again all the pieces with taylor’s chalk), remember about your seam allowance, and sew everything together.
Next time I’ll show you the finished product and how to make it from scratch!