
This tutorial is for you if:
– you have a tarot deck with a horrible backside
– you want to try the excitement of a borderless edition
– you like paper crafts
– you want to gild your tarot deck
– you have a tarot deck that’s too flimsy and thin
– all of the above (and it also applies to regular playing cards)
What’s needed
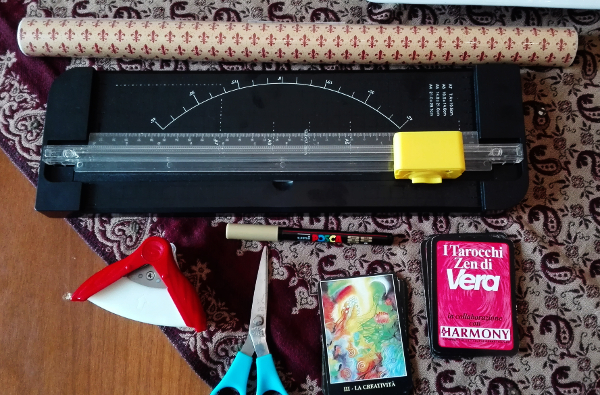
– scissors
– ruler cutter (it’s optional, but since I can’t cut straight with scissors, it’s mandatory for me)
– corner cutter (unless you’re a genious when it comes to cutting round corners all equal… or unless you like pointy corners  )
)
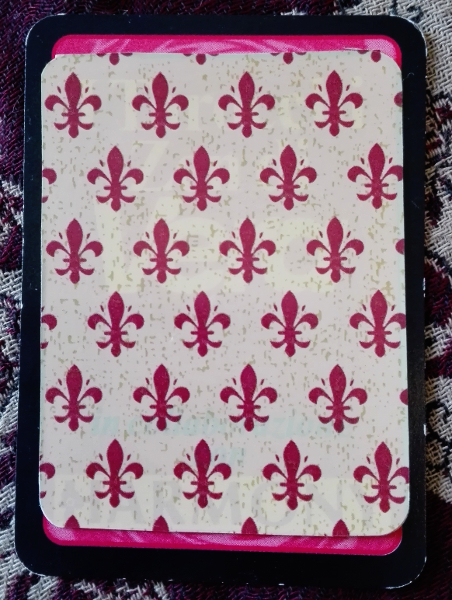
– self adhesive decorative paper (I’ve picked one with a repetitive patern)
– pencil
– golden marker
– time and patience
– and of course a deck to modify
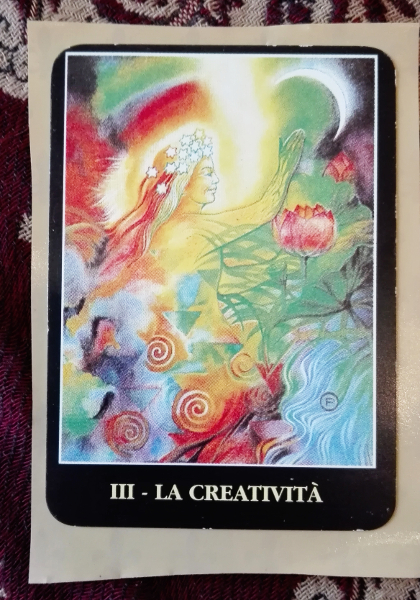
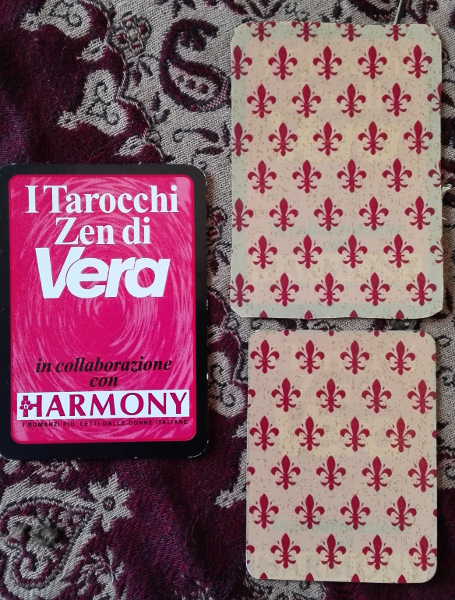
I have had this “Zen tarot” deck for over 15 years. It ws a gift and, even if I highly appreciated the gift itself, I’ve always hated the back.
Turns out these are the major arcana from “Osho zen tarot”… and they look like that in the back? Zen with that hot pink? Come on!!!
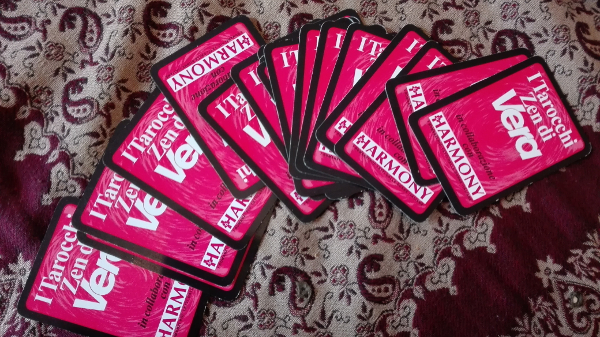
Plus, looking closely, some images weren’t centered: some had a thicker bord on the left, some on the upper part… after all it’s a cheap deck that came with those summer magazines…
As it’s often the case, while I was surfing the weird part of the internet, I stumbled upon tutorials of tarot deck modification. A world of possibilities opened up before me and I absolutely had to try… and I just happened to have the perfect guinea pig for that!
So here’s what I’ve done.
I’ve measured, on the back of the adhesive film, with quite some room around the card.
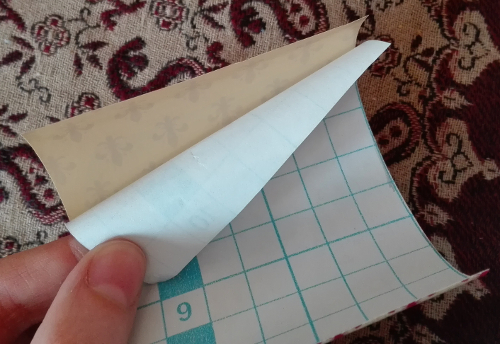
I’ve cut out the pieces, then, peeling off just a small border, I’ve applied the film to the tarot cards., pressing well and removing the protective paper a little at a time.
I’ve left plenty of border on purpose, to avoid having to do everything precise to the millimeter and to prevent some wobbly application.
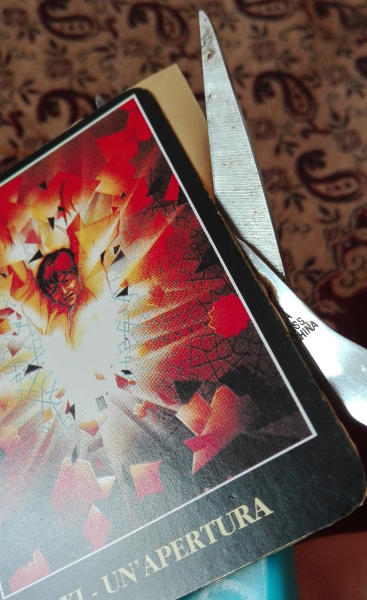
Then I’ve sliced off the excess with my scissors, simply by gliding them through.
If you only want to change the back, you can stop here, paying particular attention to this refining process, and the corners!
I’ve done it quickly, only to prevent it from sticking everywhere.
If you want more, keep reading!
With scissors, if you have a steady hand, or with your cutter, eliminate the three smaller borders, in case you want to keep the nametag. I already knew I didn’t want to, but I’ve snapped a picture of that result as well, to show you how it would have looked like
If you want a completely borderless deck, instead, cut off all the borders. No way, who would have told!
Sure, I could have cut the borders off first and then applied and refined the film later, wasting less film this way, but I wanted to avoid big mistakes and also make sure the film was well glued to the card: by running under the cutter I have the impression that the borders are sealed better together.
Finally use your puncher to cut your corners, if you so wish.
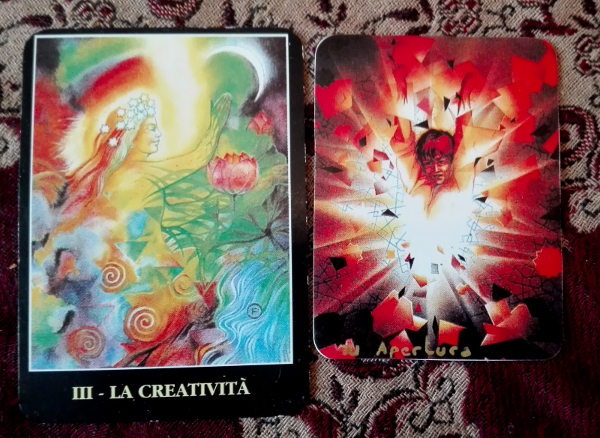
Can you find the gilded card?
Gilding in process
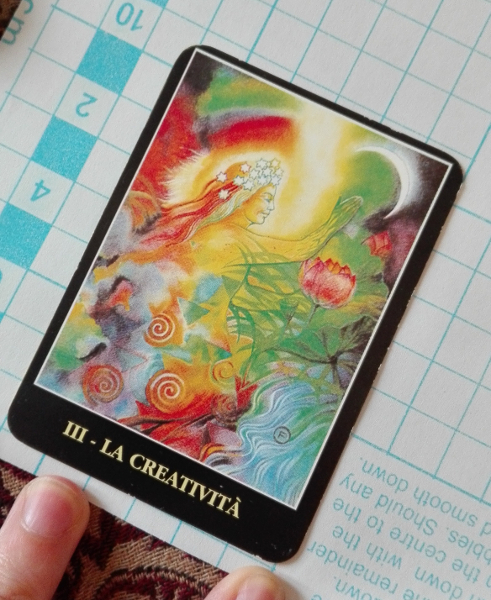
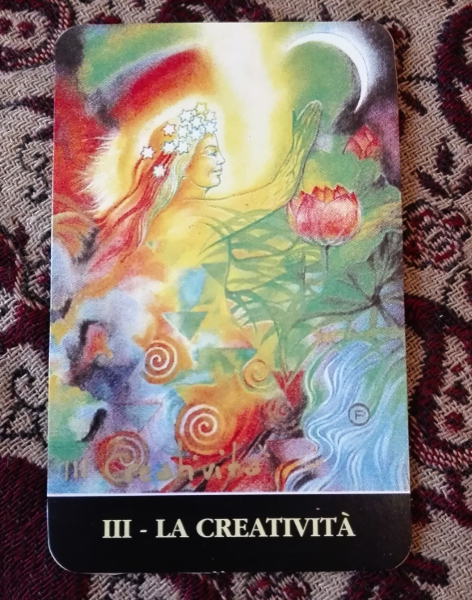
I added two steps: writing the number and the name on the image itself (I’ve done this before cutting, to be honest, so not to mess up things :P).
And gilding.
No matter how strongly you’d like to keep the cards stacked together and colour all the borders at once: it doesn’t work. It bleeds on the image (how do I know? I’ve tried and failed, of course!!!).
So be patient and paint one by one.
I find the end result very pleasing.
It’s gilded, easy on the eyes, shuffles very well*, the images pop up, and it’s a lovely pocket size, it’s so small it’s almost kawaii!
That’s the before and after comparison pictures.
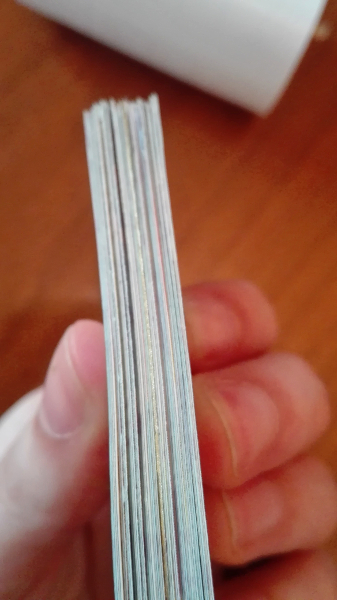
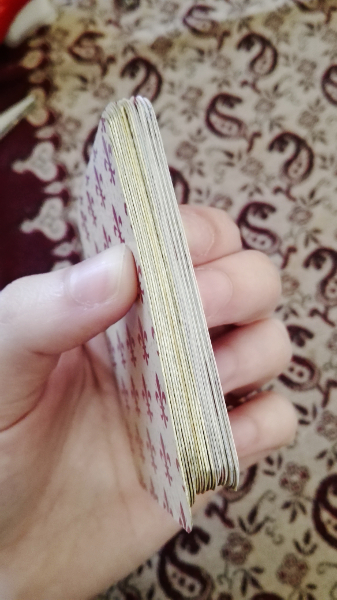
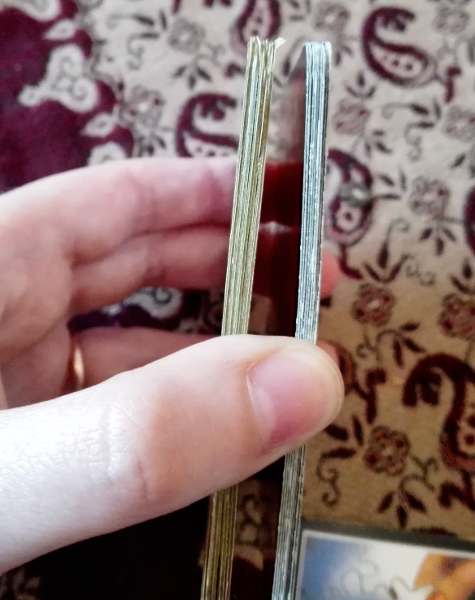
Plus, as you can see in this picture, adding the film thickens the deck (same number of cards, left it’s the filmed ones, right the original ones. There is a slight difference in thickness), so this might be a solution for flimsy decks.
To be the first deck I’ve modified, it turned out pretty well, if I may say so myself.
So I think this won’t be the last!
* I do not shuffle by “shoving” cards in eachother with a sawing motin, but with a overhand shuffle, or by irish shuffle (I believe this is what is called when you spread your cards on the table and move them around like a three year old would do!). So these are just a few tips to preserve the borders
Ottimo suggerimento! ho dei mazzi con un cartoncino logoro, ma amo tutti i miei mazzi. Il tuo suggerimento mi ha aiutata molto. Grazie