
You thought this was a blogpost where I told you what to pin to your corkboard to make it visionary and inspiring and sugar spice and everything nice?
Well, think again!
You know I like to go to the chore of things, and that “premade” or “storebought” really rarely finds me satisfied! Therefore… I made my own corkboard!
Don’t believe me? Check this out, my before and after working station!
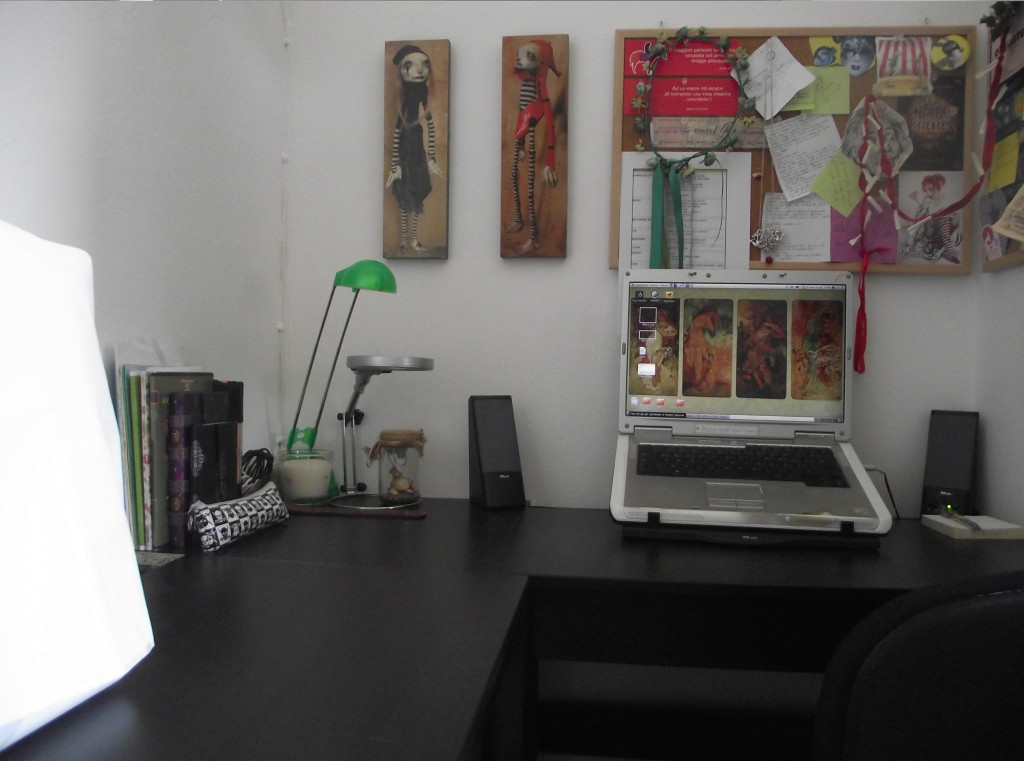
Before, incredibly tidy and organized
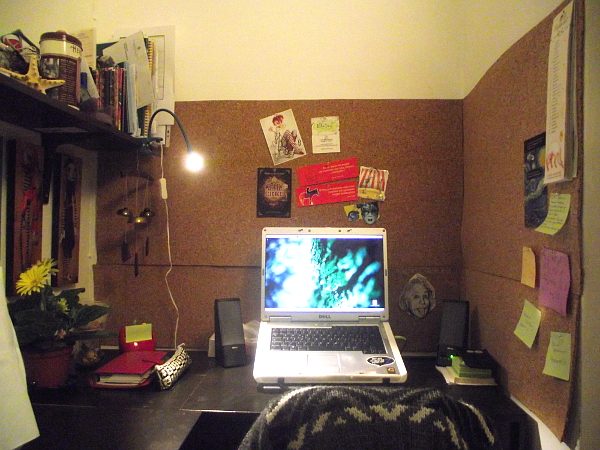
After, with poor lighting, on the left a gerbera (with a teensy tiny fairy in it) and some art, and a flashy wallpaper.
Now that you’ve witnessed oooh the beauty of it all, let’s get started with how you can achieve it for yourself too! Yay!
What you’ll need:
cork roll (found in local craftstore, and if I’ve found some in Italy you can find it too in you english-speaking country, I know it for sure!!! Tip: go around the insonorisation/insulation department ;))
scissors/rotary cutter
ruler and pencil
meter
nails and hammer
masking tape
elmer’s glue and brush
a wall
patience
bandaids (see hammer before. No? Just me? Ok then…)

Steps to achieve a kickass visionboard no one has ever had. Except me. But hey, we can all live with that.
– envision how you want it to look
– measure your wall
– measure your roll
– cut accordingly (my roll was very thin and not tall enough to cover all the wall portion I wanted, so I doubled it up for thickness and cut some more double strips to achieve the desired hight)
– splatter some glue to (guess what?) glue the sheets of cork together (if you need to) and wait a day for it to cure
– stick your cork-sheet-piece-thingys to the wall using masking tape, so it stays put while you…
– nail it to the wall, a nail for corner and maybe one or two in the middle or those areas where you see it needs support
– pin whatever you want on it
– sit back and feel unashamingly proud and productive
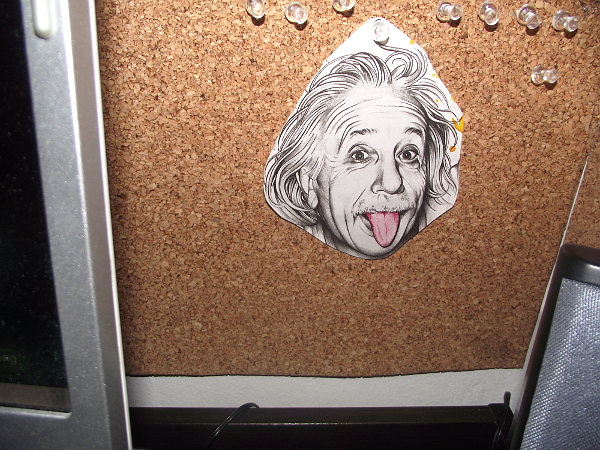
My friend Albert always keeps me good company
This post was due, in my mind, a long time ago, but it would have waited some more if it wasn’t for the guys over at Problogger: they organized a “group post” so I decided to join in (after all one of my new year resolutions is to get myself out there, let the world know that this little blog of mine is alive and kicking). I can’t wait to see what other wonderful “how to” posts will be posted.
I think I’ll write about this a little bit more next post… and if you came here through Problogger, well, welcome and thank you so much for taking the time to check my blog out! Hope you like it here and hang around a little bit more (under this blogpost there are other nice post you might like, why don’t you click on them?!).
For those of you who instead read me more often, I realize this post is a little bit more enthusiastic than usual, but I really loved making my very own vision board and being able to make it exactly how I wanted, I feel so cozy and so proud here, I just had to share! 😀
Mi piace quell’ultimo “godetevi il vostro lavoro sentendovi molto produttivi” bella filosofia! Non ci godiamo abbastanza quel che siamo e facciamo… E prendiamocele due soddisfazioni!
Sssììì!!!
È la parte che mi piace di più del DIY, che poi alla fine guardi quello che hai fatto, la tua creatura e ti dici “L’ho fatto tutto io!” *_*
Il bello della creativita’!
I unquestionably learned a lot from going through some of your previous posts as well and decided to drop a comment on this particular one.